Showing posts with label articles. Show all posts

2017/06/03

My award from Korea International Pressed Flower Exhibition 2017, Gurye

Many of the WWPFG members enter to Korean contests every year and get high awards. As you know there are two annual Korean International Pressed Flower Art competitions that are open to all artist from around the world. – in Goyang and in Gurye but this year there is not any competition in Goyang.  So I entered to the 16th Korea International Pressed Flower Exhibition in Gurye. It was first time I participated in Korea contest.  And I’m glad to tell you about my award that I won. My artwork “Winter’s coming” has brought me the Second prize! A total of 60 artworks were be selected and awarded and only 12 ones got the Second prize. 


This work is made from pressed plant material entirely, with no any paints.
The Gurye County competition stresses on wild plants usage. Judging is based on creativity, pressed flower condition, material application, background, and wild flower usage percentage. All artworks that are winners in Gurye Exhibition will be displayed there for one year.
Also I’ve received the book with the pictures of all entries by both Korea Exhibition (only for Korean participants) and  Korea International one.


          and winner’s certificate.


     I’m proud to receive this award!

2016/12/19

How I make large branches (video)


Yes, at last I've done it! This is my first video. I'm preparing my March professional workshop and decided to catch on video the small part of my work. Hopefully it's clear even for a beginner at Pressed Flower Art.
For making trees and branches I like to use the leaves under snow. You can read in my article "Last year's leaves" why I take this material for imaging branches.
I prefer first to make large branches and trunks on separate piece of thin paper and then glue them down onto a picture. Next I complete other branches of the tree just right on my work.
The large branch that I make in this video is horizontal so the light falls down on it.


Sorry for unideal quality of my pilot video :)) I'll try to improve my skills in the future. And do not hesitate to ask me any questions.

2015/04/05

Last year's leaves

Spring came early this year in my area and snow is almost melted already. So it is time to stock up with very useful plant material. These are dead leaves that have been laying under snow for all wintertime.
They are dirty and unsightly


But I can say that it is one of my most favorite materials. Having laid under snow the leaves become gentle and flexible and you may simply cut off  from them narrow strips with scissors to make tree branches, blades of grass, etc. Also the leaves from under snow are good material for depicting the bark of trees since they have a lot of  brown shades. Often last year's leaves have many dark spots on them and look like natural bark patterns too.


You can make great stones from these leaves as well


Sometime in the fall the trees shed their leaves of green color. They keep this color through to spring. You can use those leaves for depicting a grass or some marsh plants:


Pick up the leaves in the spring. They have different colors from light beige till dark brown and almost black. And then all leaves have various texture. For example, the leaves of maple (Acer platanoides) and ones of linden tree (Tilia)


There are times when some insects eat off fallen leaves. Then natural skeleton leaves come in. That is very useful material too. 


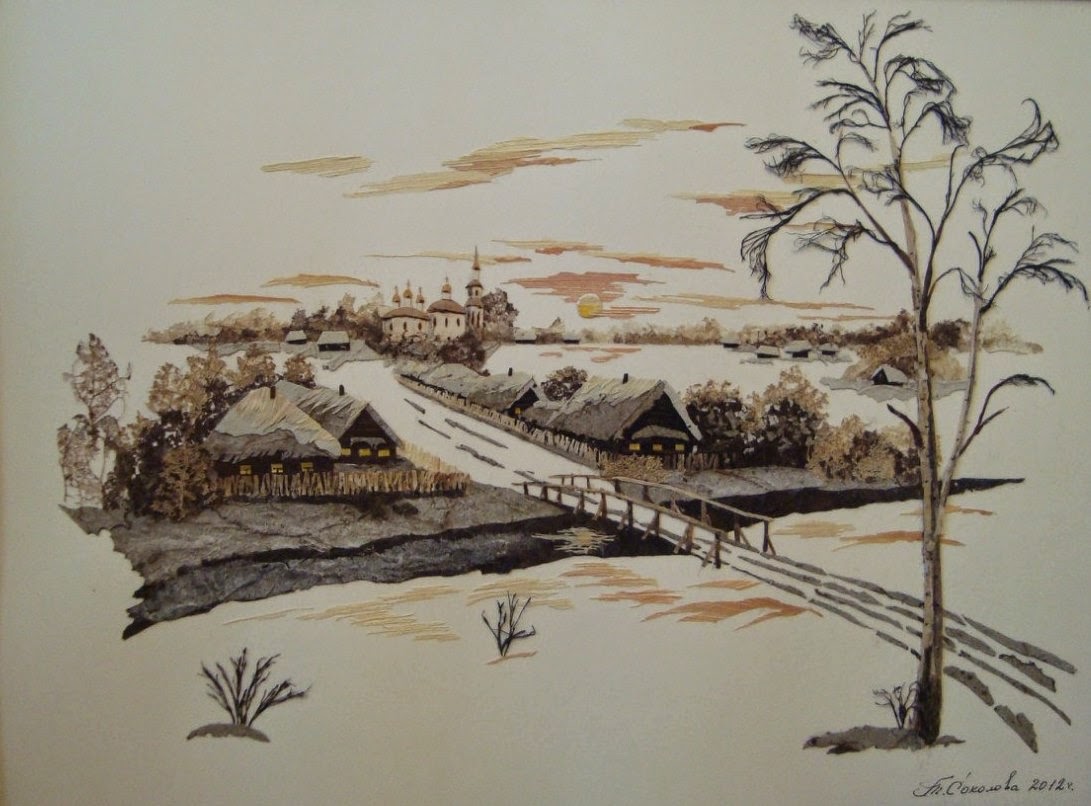
You can do monochrome artworks from them. They are applicable for making winter trees, shadows, some distant subjects. 
This is winter landscape by artist Tatyana Berdnik (Kiev, Ukraine). She used those skeleton leaves here


and artist Tatyana Sokolova (Saint Petersburg, Russia)  used the same material for her winter scene


If you will blanch skeleton leaves, it is possible to use them for making transparent curtains, clothes, etc.
Well, you need to soak your dirty leaves collected in water for a time. Then rinse off all dirt from them. Dry the leaves with paper towel and put under some weight or into a press as usually. Let them dry entirely and try to work with this great material. You will like it!
Finally very important point  is the color of last year's leaves will not turn in time. It means your artwork will have very long life.

2014/02/07

Wall clock The Spring Song


February is very cold so far but the sun is shining brightly and the days are drowing out. In 2-3 months all trees will be in flower here. And I already have the spring time and the birds singing at my home!
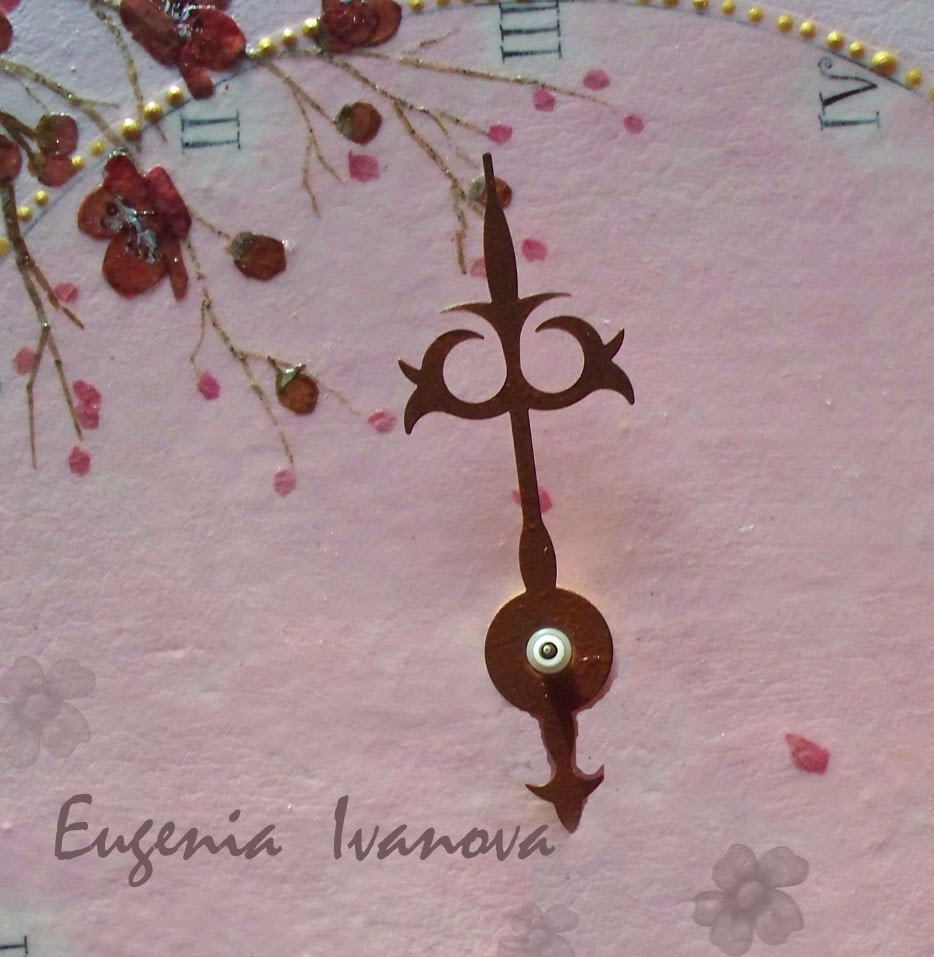
The unfinished wood piece for a clock and paper clock-face picture were in my stocks for a long time. At last I have made this wall clock inspired by Chinese paintings.
I have lacquered my work  for the first time.
The varnish is needed here to protect the picture from a dust and to make the cleaning easier.
Spray varnish doesn't allow you  to applay thick coats and there is a chance to hurt the pressed plant picture for dusting. In this reason I have chosen liquid varnish..  This is acryl varnish based on synthetic resin  - Marabu Klarlack:


It self-levels for coating and the brush doesn't leave any marks. Also a coat of the varnish dries fast.


I found out some new things about pressed leaves owing to this experience with the varnish. The pressed material soaks some varnish up and this process is irregular. As a result I have several needless spots on the bird's body.
I made the bird from Swida alba leaves. So if you want to lacquer your work,  do not  use these leaves.
However you can see that my favorite brown leaves under snow are unchanged. And red leaves of Virgin grape are perfect condition too.

Warm and happy spring to all!


How to fix clock movement

Usually standard set of clock movement includes circle rubber washer, brass washer and brass nut which are on the movement spindle. The clock hands are standard  and  for sale in craft shops .
 Take the brass parts away. Place the rubber washer (it is needed for good locking the movement) over the movement spindle.


Push the spindle through the hole from the back of the dial. My wood piece has special hollow on the back side for clock movement.

Place the brass washer over the spindle and then just tighten the brass nut on the thread until the movement is held firmly.


Push the hour hand then the minute hand on to the spindle making sure they point to the 12.


  Push the second  hand on to the spindle.


Now roll the wheel on the clock movement to fix the time and then put the battery. That is it - your clock will start.

2013/12/20

Greeting card with painted silk and pressed plants

I like so much to make works onto painted silk. In this way I can create very beautiful backgrounds for my pictures. I have already made some works in this mix technique:


Of course all these works need many time but you may use the mix method for making small pictures and cards. These works looks nicely too. Now I want to tell you about very easy method to make greeting card using silk painted. And you can do it together with children.


We need following materials and tools:

  • Blank card or thick paper
  • A piece of silk fabric ( a little smaller than card ready). I took genuine silk but some white thin sinthetical fabric is matched too.
  • Palette with hollows or some small cups for liquid paints
  • Paints. You need the liquid paints for silk  (e.g. Marabu silk, Javana by Kreul) or paints for any fibers (e.g. Setasilk, Setacolor by Pebeo, Dye-na-flow by Jacquard), that based on acryl. You do not need a lot of colors – I used only yellow, red (scarlet) and blue.
  • Wood frame of fitting size (depending on the size of piece you are painting) and push pins for stretching your fabric (optional)
  • Hole punch Maple Leaf 3/8"
  • Red maple leaves ( or other flexible leaves that aren't breaking by the punch) and some small ones (pressed)
  • PVA glue
  • Spray glue (optional)
  • Brushes for glue and paints (soft)
  • Leaf stamp (optional)
  • Paper decorative ribbon ( you can make it with edging craft scissors)
  • Scissors
  • Greeting stickers (optional)

  1. Mark picture's area onto the cardstok with a pencil. If you want to decorate the card with leaf stamp, do this using stamp pad (or spreading acryl paint over the stamp) as follows 


2. Now pre-wash your fabric by hands with warm water and soft washing powder. Rinse and while the fabric is damp, stretch it onto wood frame.


If you want to dispense with the frame, merely put fabric piece onto paper towel.

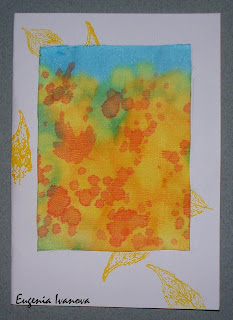
3. Do paints of colors needed by watering them just in the palette. Mix yellow and a bit of  red to get orange color needed. The colors should not be too bright. If the fabric is dry already, wet it entirely with the brush or a sprey. Now dip your  brush into yellow and then into blue colors and apply the paint by touching the brush to the fabric. Allow color spots to diffuse and mix onto the fabric.


Then I have slightly dried the silk with a fan after painting so that my color spots do not spread completely.

4. The fabric is dry. Dip the brush into orange paint and apply small spots with tip of the brush. If you want to paint a leaf, the brush with orange color must be almost dry. Otherwise the outline of the leaf will flow and get out of its shape.
 

Let the fabric dry.

5. Take off painted piece and cut out the rectangle of needed size. Attach it onto your card with spray glue. If you don't have spray, glue fabric rectangle along edges by stretching it slightly.


6. Make several "maple leaves" with craft hole punch.


7. Attach all leaves onto your card with glue and mask fabric's edges by pasting the decorative ribbon atop. Now you can cover the leaves with botanical glue (or PVA glue watered 1:1) to protect them since the glue layer  forms transparent film after drying. 

8. Decorate the card with greeting stickers. Also you can make the stickers by yourself - just print some pictures onto self-adhesive paper or film and then cut out them:


Your card is finished!

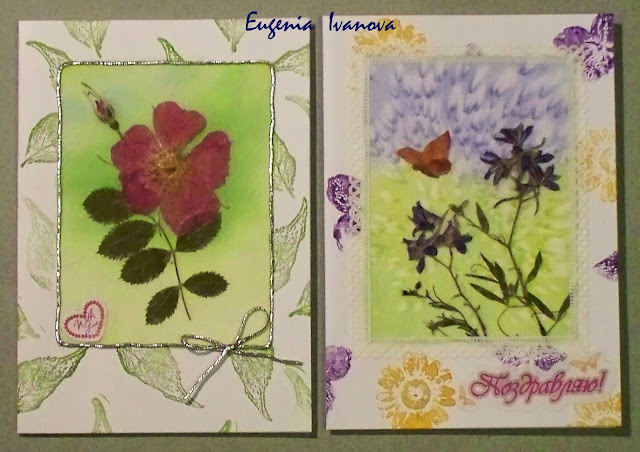
Here are similar cards in the same technique:


They are simple too. Here I have covered the painted silk and plants with transparent tengucho paper to protect pressed flowers and leaves. Then  I smeared  all details with botanical glue over the paper to conserve bright color of the plants. I think it is possible to use some transparent fabric too.

Here is a little more difficult painting. I used special resist to depict the blebs.


There are blank cards with various windows. You can put the painted fabric in the window:


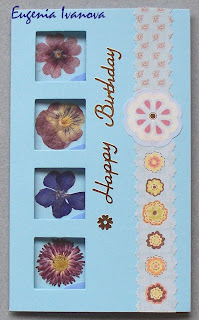
This is without any fabric but with square windows 


These flowers are between layers of tengucho paper in figured window:


Here is important point in the working with those windows. You should stretch the inserting piece when you glue it along the edges.
Next time I will share some other ideas for cardmaking with pressed plants.
Thank you  for your attention!