2015/12/04

2015 WWPFG Conference in Charleston, South Carolina

In this November I was invited to teach at regular conference of World Wide Pressed Flower Guild that was held in Mariott hotel, Mount Pleasant (Charleston, SC).
It was my first visit to US and coference as well. And for me as teacher, this class was first real, not on-line class in the guild. Of course I was exciting so much.


At last I have met in person those people which I knew for my on-line workshops, guild competitions, etc. Nice to meet you, all my petal friends!
Mila, Lisa, Jacki, Denise, Kate, Barb, Loretta, Sally, Hendrica and dear Chinese ladies! I was so happy to see everyone!


Mila and me


We started first day with Denise's class and learned to make initial/number cards. I've made this for mom.


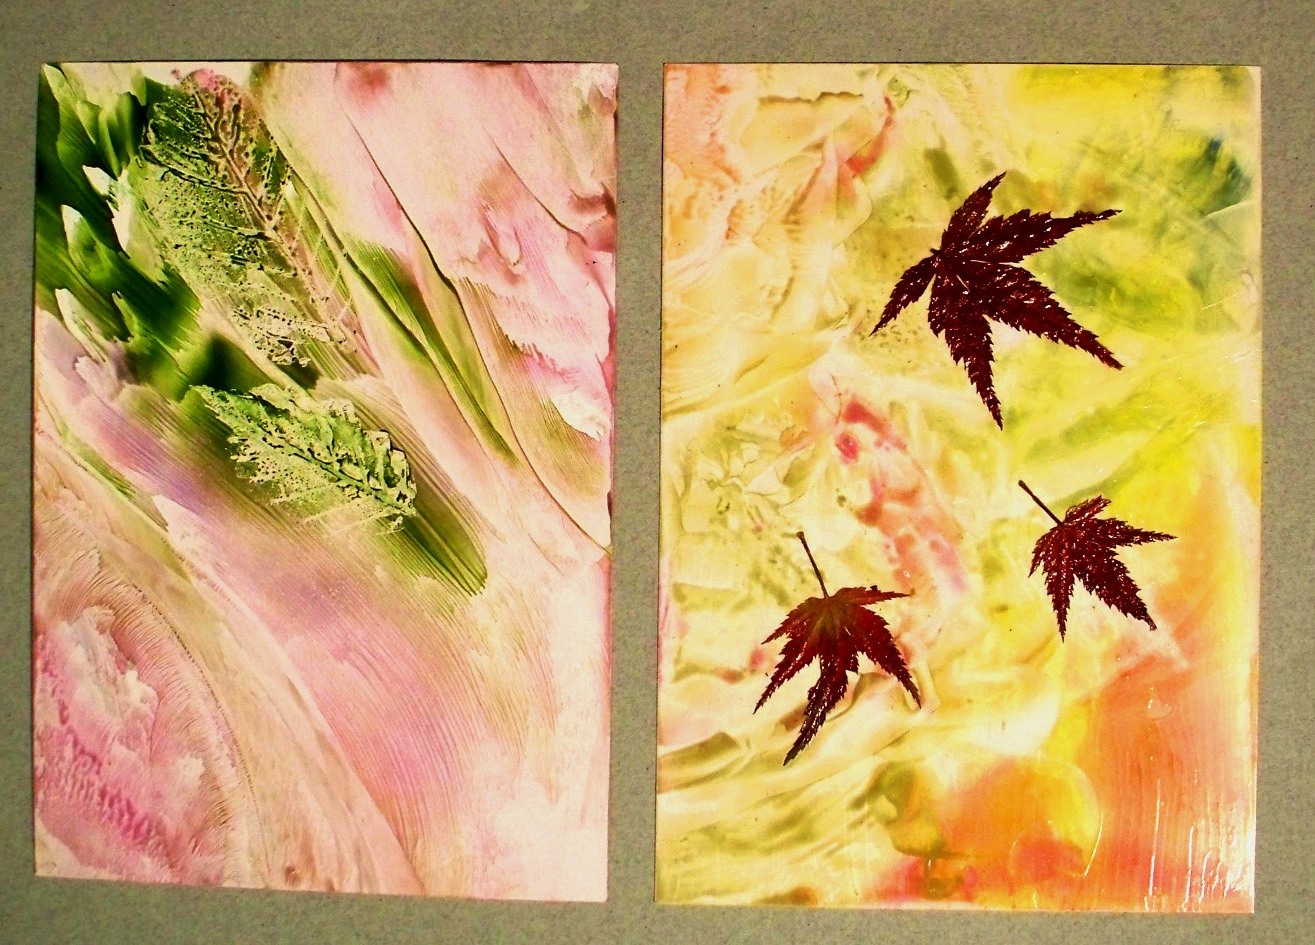
 Then we learned encaustic technique with Mila Garro. It was very interesting to get fantastic images with hot wax. 


I had fun. My experiments


Next class was by Xianghuan Liu from China. She taught to make decorative work with lotus flowers and gilded background. I liked to work with gold flakes.


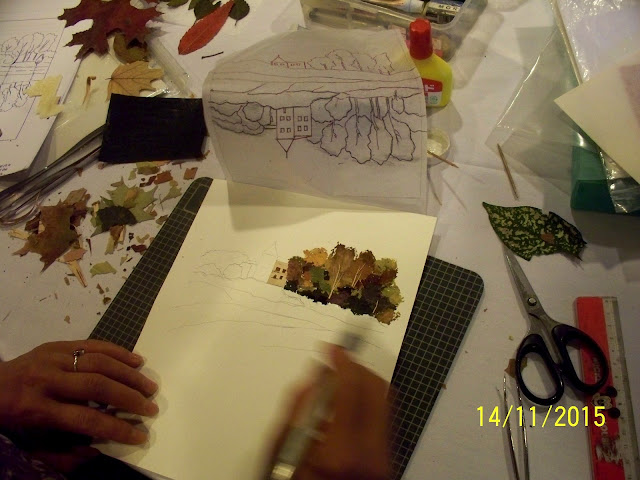
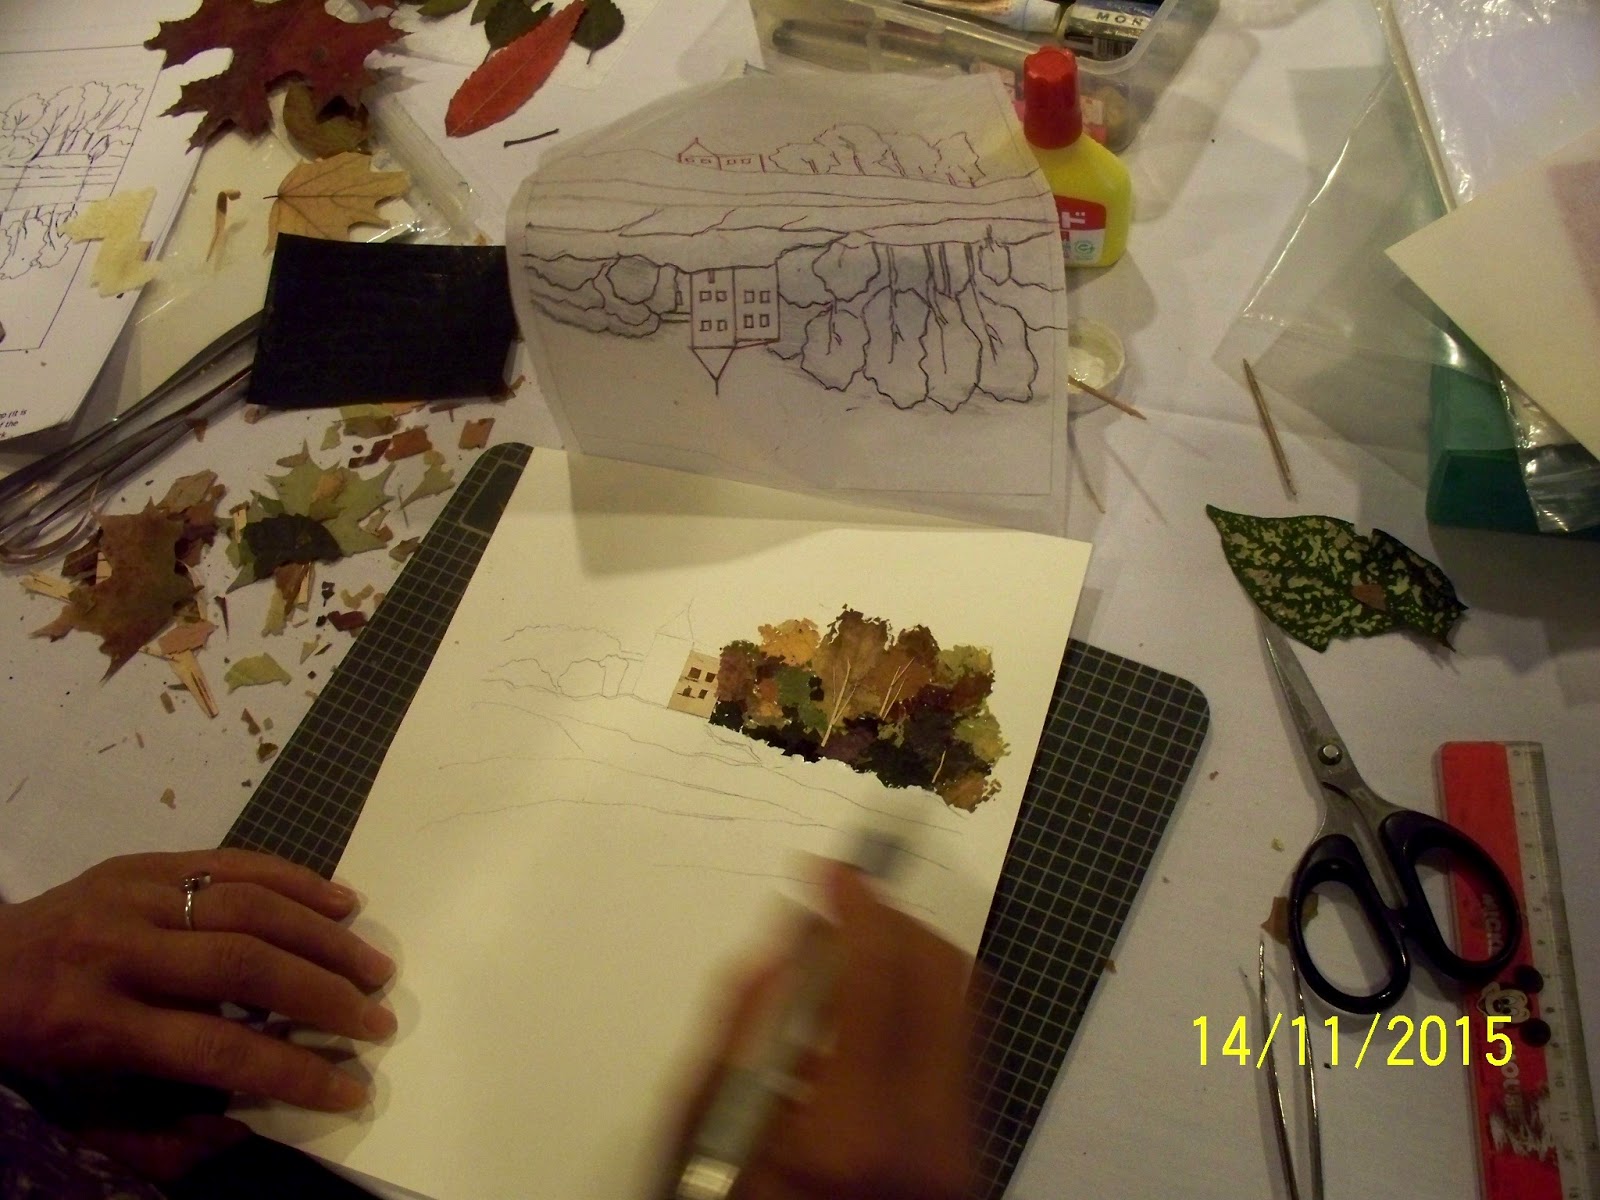
First part of my class was in second day. The task of the class was depicting realictic water reflections for different subjects. In this part I have demonstrated how I glue the sky, make the foliage and depict distant trees, house and shore. I hope it was very useful for all to see how I work with tweezers to make the foliage of tree, 


Then all practiced


After lunch Mila Garro has shown how to work with pond scam.
Then we did the landscape using soaked scam for depicting tree branches.


Next Kate Chu taught to use contour stikers for making beautiful butterflies. And Betty Green has shown how she does flower fairies.


My picture


In last day we did nice picture with cute petal lambs by Li Wang from Beijing, China. Then after lunch my students continued to work with their landscapes. Of course we had not enough time to finished the picture but I hope everyone has understood how to cut strips for depicting water and reflections. And I will see the artworks completed soon.


Finally we had flower exchange. It was so joyful thanks to Jacki and Denise.


And these are cards by Guoyo Zhao that I got for gift exchange


Thanks to all who worked and organized the conference and Mila for hosting and translating to English. I liked downtown and historic places of Charleston


 and specially loved sunny November weather here! This time already winter is in my city in Russia. And here we were swimming in ocean! 
     Also I  thank my husband Vlad for the trip and assistance in English. 
     Wish everyone to enjoy new techniques and ideas and hope to meet again one day!


2015/04/05

Last year's leaves

Spring came early this year in my area and snow is almost melted already. So it is time to stock up with very useful plant material. These are dead leaves that have been laying under snow for all wintertime.
They are dirty and unsightly


But I can say that it is one of my most favorite materials. Having laid under snow the leaves become gentle and flexible and you may simply cut off  from them narrow strips with scissors to make tree branches, blades of grass, etc. Also the leaves from under snow are good material for depicting the bark of trees since they have a lot of  brown shades. Often last year's leaves have many dark spots on them and look like natural bark patterns too.


You can make great stones from these leaves as well


Sometime in the fall the trees shed their leaves of green color. They keep this color through to spring. You can use those leaves for depicting a grass or some marsh plants:


Pick up the leaves in the spring. They have different colors from light beige till dark brown and almost black. And then all leaves have various texture. For example, the leaves of maple (Acer platanoides) and ones of linden tree (Tilia)


There are times when some insects eat off fallen leaves. Then natural skeleton leaves come in. That is very useful material too. 


You can do monochrome artworks from them. They are applicable for making winter trees, shadows, some distant subjects. 
This is winter landscape by artist Tatyana Berdnik (Kiev, Ukraine). She used those skeleton leaves here


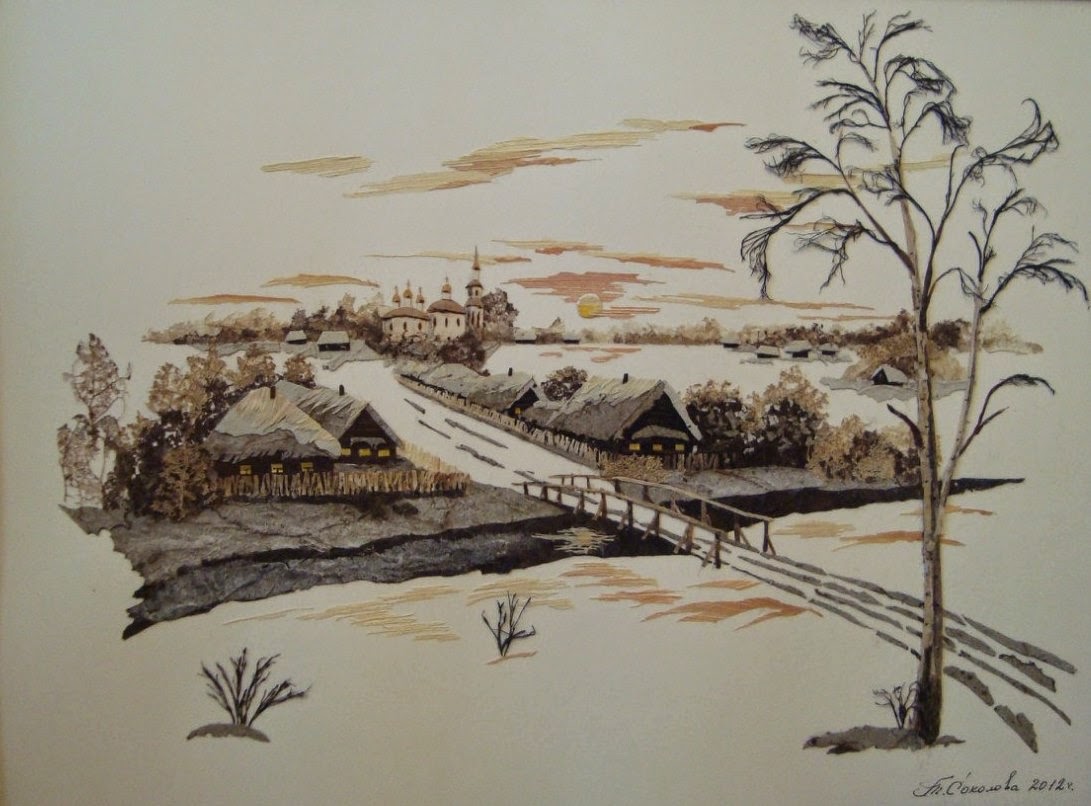
and artist Tatyana Sokolova (Saint Petersburg, Russia)  used the same material for her winter scene


If you will blanch skeleton leaves, it is possible to use them for making transparent curtains, clothes, etc.
Well, you need to soak your dirty leaves collected in water for a time. Then rinse off all dirt from them. Dry the leaves with paper towel and put under some weight or into a press as usually. Let them dry entirely and try to work with this great material. You will like it!
Finally very important point  is the color of last year's leaves will not turn in time. It means your artwork will have very long life.

2014/03/16

Box Herons


     I have decided to make some utilitarian thing and decorate it with pressed plant picture.

   I very like silhouette works made of banana skin so here I have repeated my favorite herons theme.


The background is made from fall leaves (Acer negundo).


In the first instance this was a wood unfinished box.


I have painted the piece with black acrylic paint by priming it before. Then I have applied 3D ornaments onto both sides of top cover with texture paste using small bottle with narrow tip. Also I have done the same onto side face of the box.


Then I've painted all ornaments with golden acrylic paint. The inner side of the box is red.


Finally I covered the box with parquet polyurethane varnish (Marshall Protex). I didn't like to work with liquid varnish since it is hard job to get unneeded flows off. Perhaps next  I will try to use an epoxide resin to cover pressed plant art.
This is finished piece. Its size is 25x25x8 cm (10x10x3 1/5 inches)


It is fit to save jewelry, ribbons, laces and other priceless things. The box is selling. 


2014/02/07

Wall clock The Spring Song


February is very cold so far but the sun is shining brightly and the days are drowing out. In 2-3 months all trees will be in flower here. And I already have the spring time and the birds singing at my home!
The unfinished wood piece for a clock and paper clock-face picture were in my stocks for a long time. At last I have made this wall clock inspired by Chinese paintings.
I have lacquered my work  for the first time.
The varnish is needed here to protect the picture from a dust and to make the cleaning easier.
Spray varnish doesn't allow you  to applay thick coats and there is a chance to hurt the pressed plant picture for dusting. In this reason I have chosen liquid varnish..  This is acryl varnish based on synthetic resin  - Marabu Klarlack:


It self-levels for coating and the brush doesn't leave any marks. Also a coat of the varnish dries fast.


I found out some new things about pressed leaves owing to this experience with the varnish. The pressed material soaks some varnish up and this process is irregular. As a result I have several needless spots on the bird's body.
I made the bird from Swida alba leaves. So if you want to lacquer your work,  do not  use these leaves.
However you can see that my favorite brown leaves under snow are unchanged. And red leaves of Virgin grape are perfect condition too.

Warm and happy spring to all!


How to fix clock movement

Usually standard set of clock movement includes circle rubber washer, brass washer and brass nut which are on the movement spindle. The clock hands are standard  and  for sale in craft shops .
 Take the brass parts away. Place the rubber washer (it is needed for good locking the movement) over the movement spindle.


Push the spindle through the hole from the back of the dial. My wood piece has special hollow on the back side for clock movement.

Place the brass washer over the spindle and then just tighten the brass nut on the thread until the movement is held firmly.


Push the hour hand then the minute hand on to the spindle making sure they point to the 12.


  Push the second  hand on to the spindle.


Now roll the wheel on the clock movement to fix the time and then put the battery. That is it - your clock will start.